Namaste! LMS Help & How-To
For even more comprehensive documentation check our new documentation and demo site!
Once installed and activated the plugin visit your Settings page to define who can access the learning material and who can manage it:

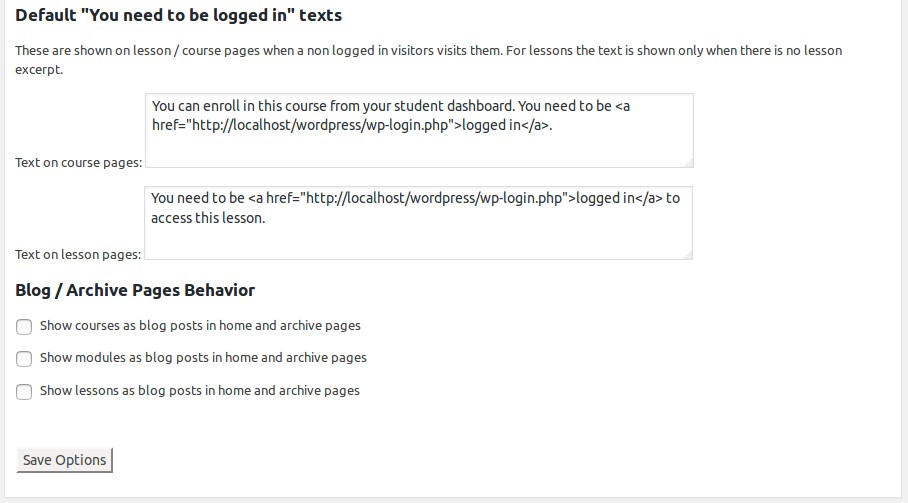
You can change some of the defaults or just leave them as is:
Optional grade and point systems can help you track and reward student's performance:

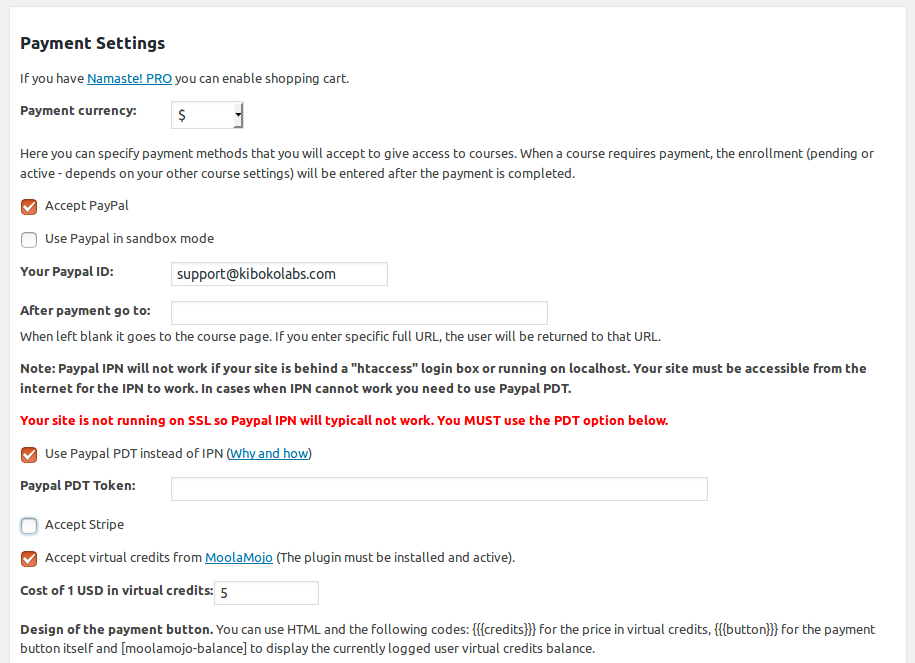
If you want to have premium courses don't forget to enable at least one payment method:
Namaste! LMS has built-in support for the most advanced WordPress test plugin WatuPRO and its free version Watu:

When done with the settings, you can go ahead to create your first course:

Optionally add some modules:

And at least one lesson in the course:

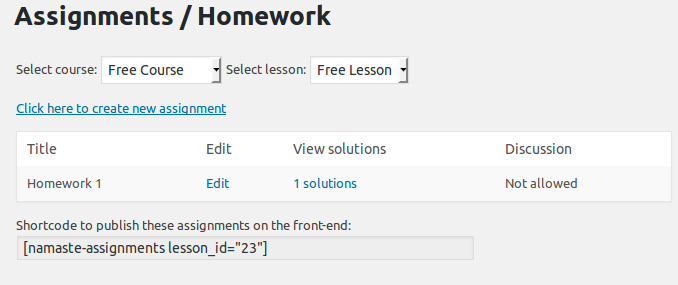
Homework is also optional. You can add some and then, if completing it is required, go back to Edit Lesson page to mark that.
You can manually enroll, approve, reject or cleanup your students:

Depending on your settings they can also enroll themselves.
This is enough to get started with the LMS. Your students automatically get a dashboard called "My Courses" menu. The basic automated setup made your LMS usable without much configuration. Here's what you can do from here:
- Visit the Typical Workflow page to get an idea how your students interact with the LMS and how you can make it better.
- Enhance Namaste! LMS by going PRO or purchasing the Theme.
- Learn about the shortcodes and how they can help you make the user experience better.
- Expose the LMS entirely on the front-end (You won't need to do this manually if you have the Theme)
- Check out our free bridges that connect Namaste! LMS to other plugins and services.
- Feel free to enhance with custom functions using the API or contact us for custom work quote.